How to make a bug hotel
Find out how to make an insect-friendly bug hotel that offers bees, lacewings, and solitary wasps a place to nest and spend the winter.
10.07.2023

Why should I make a bug hotel?
Recent decades have seen a steep decline in UK insect populations, which is thought to be related to a fall in the number of pollinators and reduced biodiversity that has far-reaching consequences. A bug hotel offers a nesting and breeding spot for many different insects, and is also a place where they can hibernate. Insects have very specific requirements for their accommodation though; our tips and step-by-step instructions tell you how to build a five-star bug hotel from a log.

Making a bug hotel will attract more small but useful creatures to your garden or balcony. As these bug visitors can help to control aphids and pollinate flowers, an insect-friendly approach is also a way to make a personal contribution to protecting and nurturing our flora.
Insects that will use a bug hotel
The type of insects that use your DIY hotel depends on what you make. Materials such as reeds or bamboo tubes are perfect for solitary, masked, plasterer and wild bees, as well as mason, digger, cuckoo and solitary wasps. Be generous with the filling material.
Use nature-friendly materials
Always use natural materials to make your bug hotel. Remove sharp edges and pointed objects that could damage delicate insect wings. If you are using a log to make your bug hotel, sand off any rough edges to prevent splinters. You also need to make sure that the drilled holes are not too large.
Use wood shavings or pine cones to attract butterflies, caterpillars, ladybirds and earwigs to your bug hotel. Although earwigs enjoy pine cones and wood chips, they are not compatible with bees because they often feed on their nectar stores and sometimes on the larvae of wild bees. So if you want to make a hotel for bees, it’s best not to use pine cones and wood shavings or wood chips.

Where should I put my bug hotel?
The best place to install a bug hotel is at least a metre off the ground to protect it from animals and children.
For best results, the front of your bug hotel should get some direct sunlight, so don’t hang it directly under a roof or tree canopy. Also, think about its surroundings to encourage the right insects to move in: there should be plenty of nectar and pollen-rich plants nearby, so that the insects have access to enough food. Visiting creatures will also appreciate a water supply – a pond, a bird bath or bowl of water can make all the difference.
STIHL professional tip: It’s worth pulling out a compass when deciding where to place your bug hotel. The open side should face south, as this usually keeps the bug hotel warm and means it dries out quickly after rain. Any larvae in the hotel need warmth to hatch in spring.
How to make a bug hotel: instructions and materials
The following instructions explain how to make your own bug hotel from a wooden log.
Committed to your safety: protective equipment
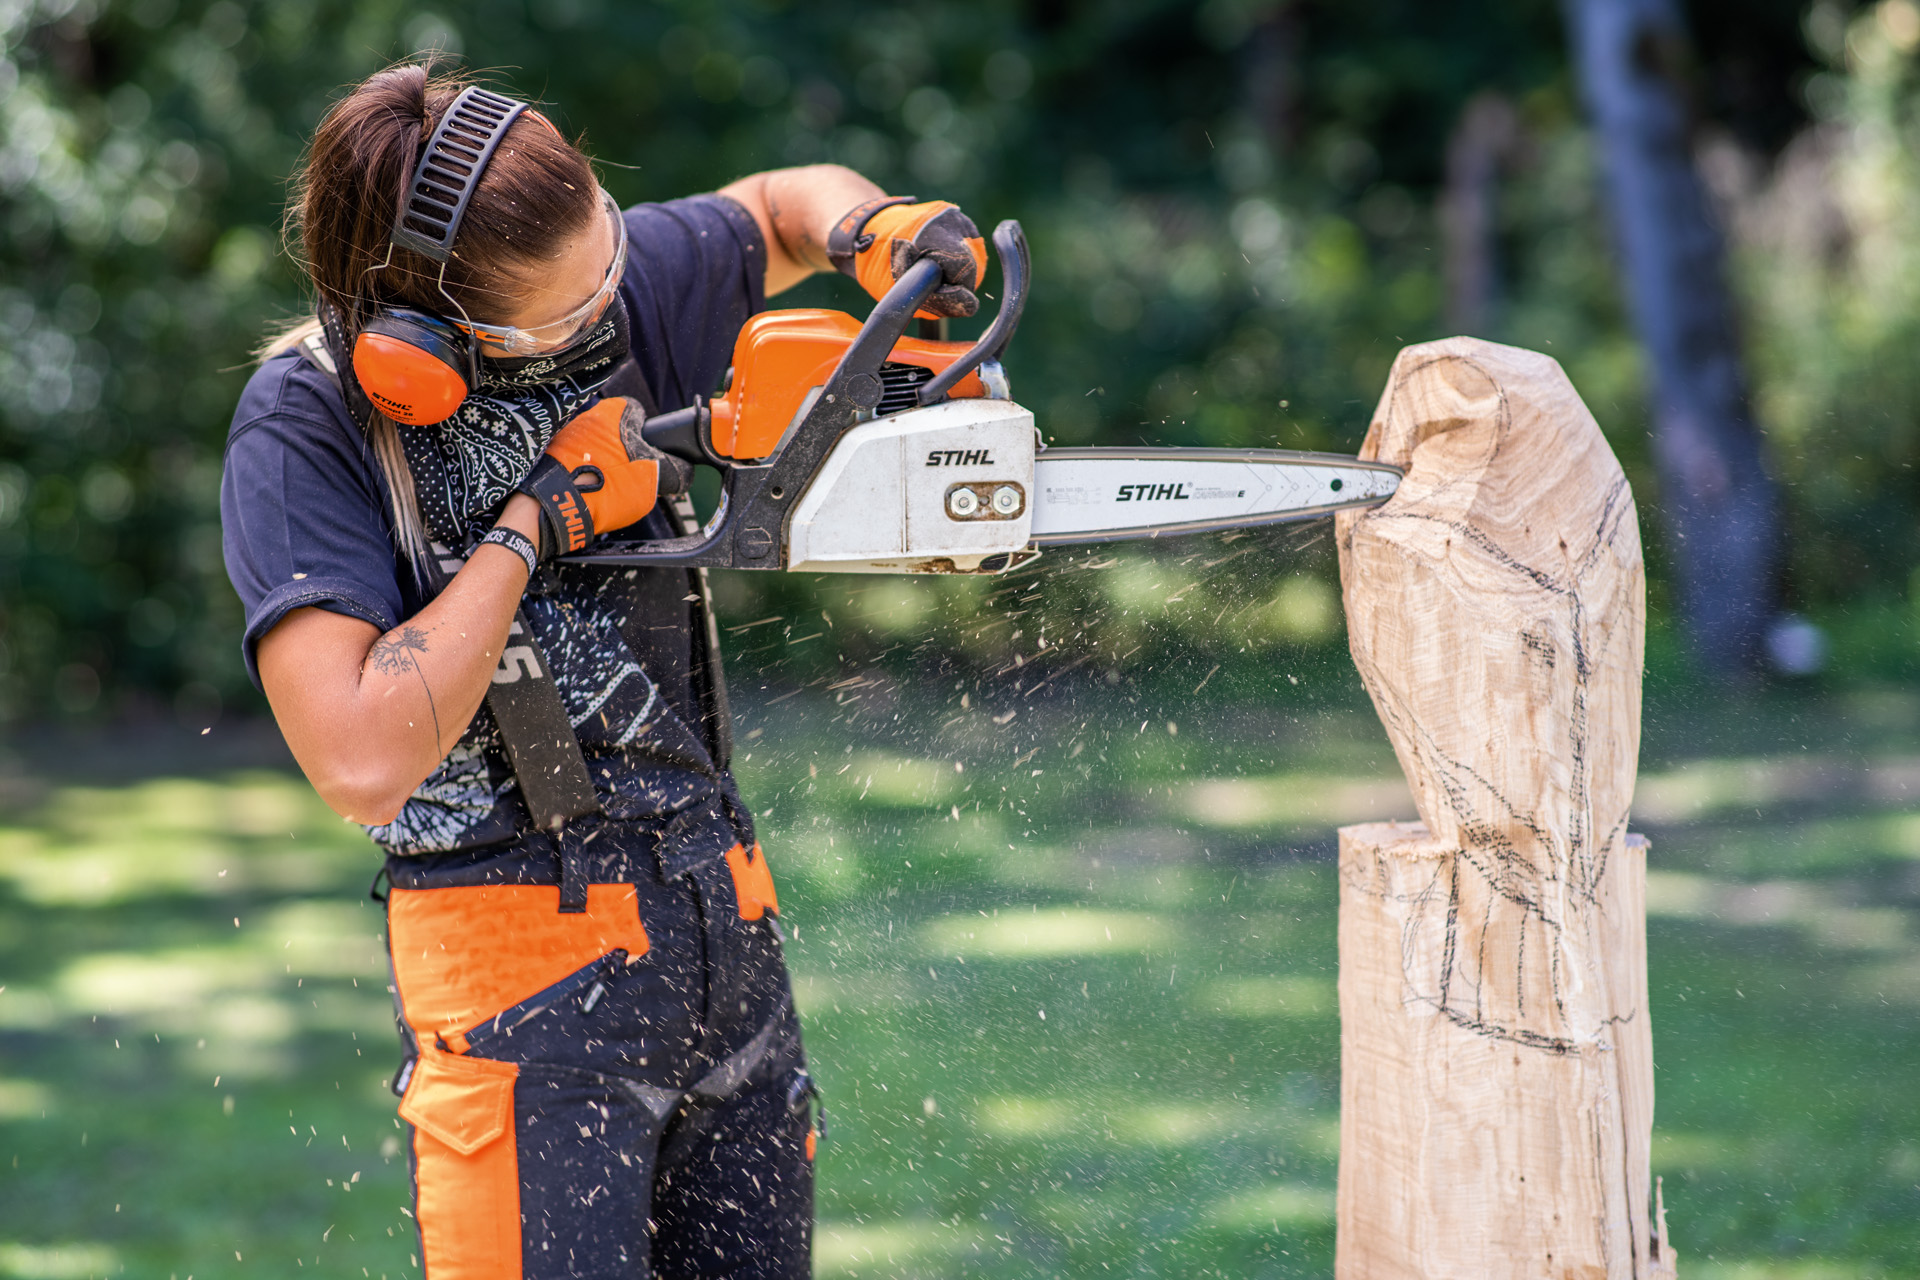
Don't forget - you should always wear personal protective equipment when working with your chainsaw. This includes a cut protection trousers, safety boots, safety glasses, a face shield, gloves, a helmet where there is a rosk of falling objects and ear protection (although you don't need to wear ear protection with many of our cordless chainsaws as they are so quiet). The instruction manual for your product contains more details on this. Fully familiarise yourself with the tool before you use your chainsaw for the first time, and check it is in flawless condition before each use. On request, your local STIHL Approved Dealer will be happy to prepare your tool for its first use, and will also advise you on models and sizes of protective clothing that you can try at your leisure. Please remember that personal protective equipment is no substitute for safe working techniques.
Make a bug hotel: materials and tools

You will need the following materials to make your own bug hotel:
- Chainsaw, e.g. STIHL MS 170 petrol chainsaw
- Drill
- Sawhorse or workbench
- Wire mesh
- Pine cones
- Reeds or bamboo
- Bark/bark mulch
- Old roof tiles (optional)
- Hammer, nails, and fencing staples (U-shaped nails)
How to make a bug hotel: instructions
You’ll start by cutting the log to shape for the pitched roof of your bug hotel, but first you need to make sure the log cannot roll away while you saw it. A classic sawhorse or a notched tree stump are ideal for this. Always secure the stump and log together with a wooden batten to prevent the log from slipping.

Now saw off a 4 cm thick slice at a slight angle; you will use this to make the roof. For the base, saw off a slice of similar thickness from the bottom of the log. Set these slices aside for later.

To create the front of the bug hotel, set the log upright and secure it in place, ideally with a ratchet strap on a sawhorse. If you are working on a tree stump, you should secure the log onto it with a wooden batten.
First cut off a slice so your log has a flat face. On this face, sketch out the areas for recesses, holes and slits. The slits provide shelter for butterflies, while holes are ideal nesting places for wild bees. The recesses can be filled with materials that beneficial insects love, such as pine cones, bark, reeds and wood shavings.

Use a chainsaw to cut out the marked recesses. Start by making an initial vertical cut, then make the horizontal plunge cut.
Caution:
Make the plunge cuts slowly and carefully. Note that this working technique has an increased risk of kickback. Make sure you always follow the safety operating instructions, and only use the method if you’re an experienced chainsaw user.
After the plunge cut, make the second vertical cut. To complete the recess in your bug hotel, lie the log down to make the fourth cut. After sawing the first recess, repeat the steps for the second recess.

Saw slits into the log as marked. Then use a drill to make the holes for your DIY bug hotel. The holes you make should be between 3 and 6 mm in diameter – insects rarely occupy larger holes. Make sure there are no splintered edges; smooth them with sandpaper to prevent animals from being injured.

The insects in your bug hotel need to be protected against birds. Use wire cutters to cut a piece of wire mesh that covers the whole front of the bug hotel, then fix it in place with fencing staples.

To complete your DIY bug hotel, you need to fill it with good nesting material for insects. Turn it upside down to fill the bottom section first: cut bamboo or reeds to the right length and stack them in the recess with the opening facing forward. Make sure the stalk nodes are not at the front, and that the reeds are not splintered, frayed, or crushed. On top of the reeds, place bark or bark mulch to prevent draughts and to improve insulation.

Put the base piece you have already cut in place so that the bark matches up perfectly. Nail the base to the main body.

Now you can fill the top of the bug hotel. If you particularly want to attract bees, fill this recess with more bamboo and bark mulch. Otherwise, you can use the top section for materials in which earwigs and ladybirds feel at home, such as wood shavings and pine cones. Put the wood shavings into the recess first, then add pine cones.

Finish by nailing the angled roof onto the bug hotel. Make sure that the cut is perfectly matched up for additional rain protection. If you want to, you can add some roofing tile or felt to protect the wood.
Your bug hotel is ready for its first guests!

Summary: how to make a bug hotel
- A bug hotel provides an ideal breeding and nesting place for bees, wasps and other insects, and is also often used for hibernation.
- Location and position are key to the success of a bug hotel: it should be at least 1 m above the ground, facing south, and in a sunny spot.
- When working, always wear personal protective equipment according to operating instructions.
- To make your own bug hotel, first saw a roof and base from a log.
- Then saw off a thick slice to make the front face and add recesses for the bug hotel. Use a drill to make holes, and sand down any rough edges with sandpaper.
- Attach wire mesh to the front of the bug hotel to protect against birds.
- Fill the recesses with reeds and bark if you want your DIY bug hotel to be a home for bees.
- Add pine cones and wood shavings to the recesses if you want it to be an ideal spot for earwigs and ladybirds.
- After filling a recess, attach the base piece or roof.


