¡MOW® robotic lawn mower installation guide
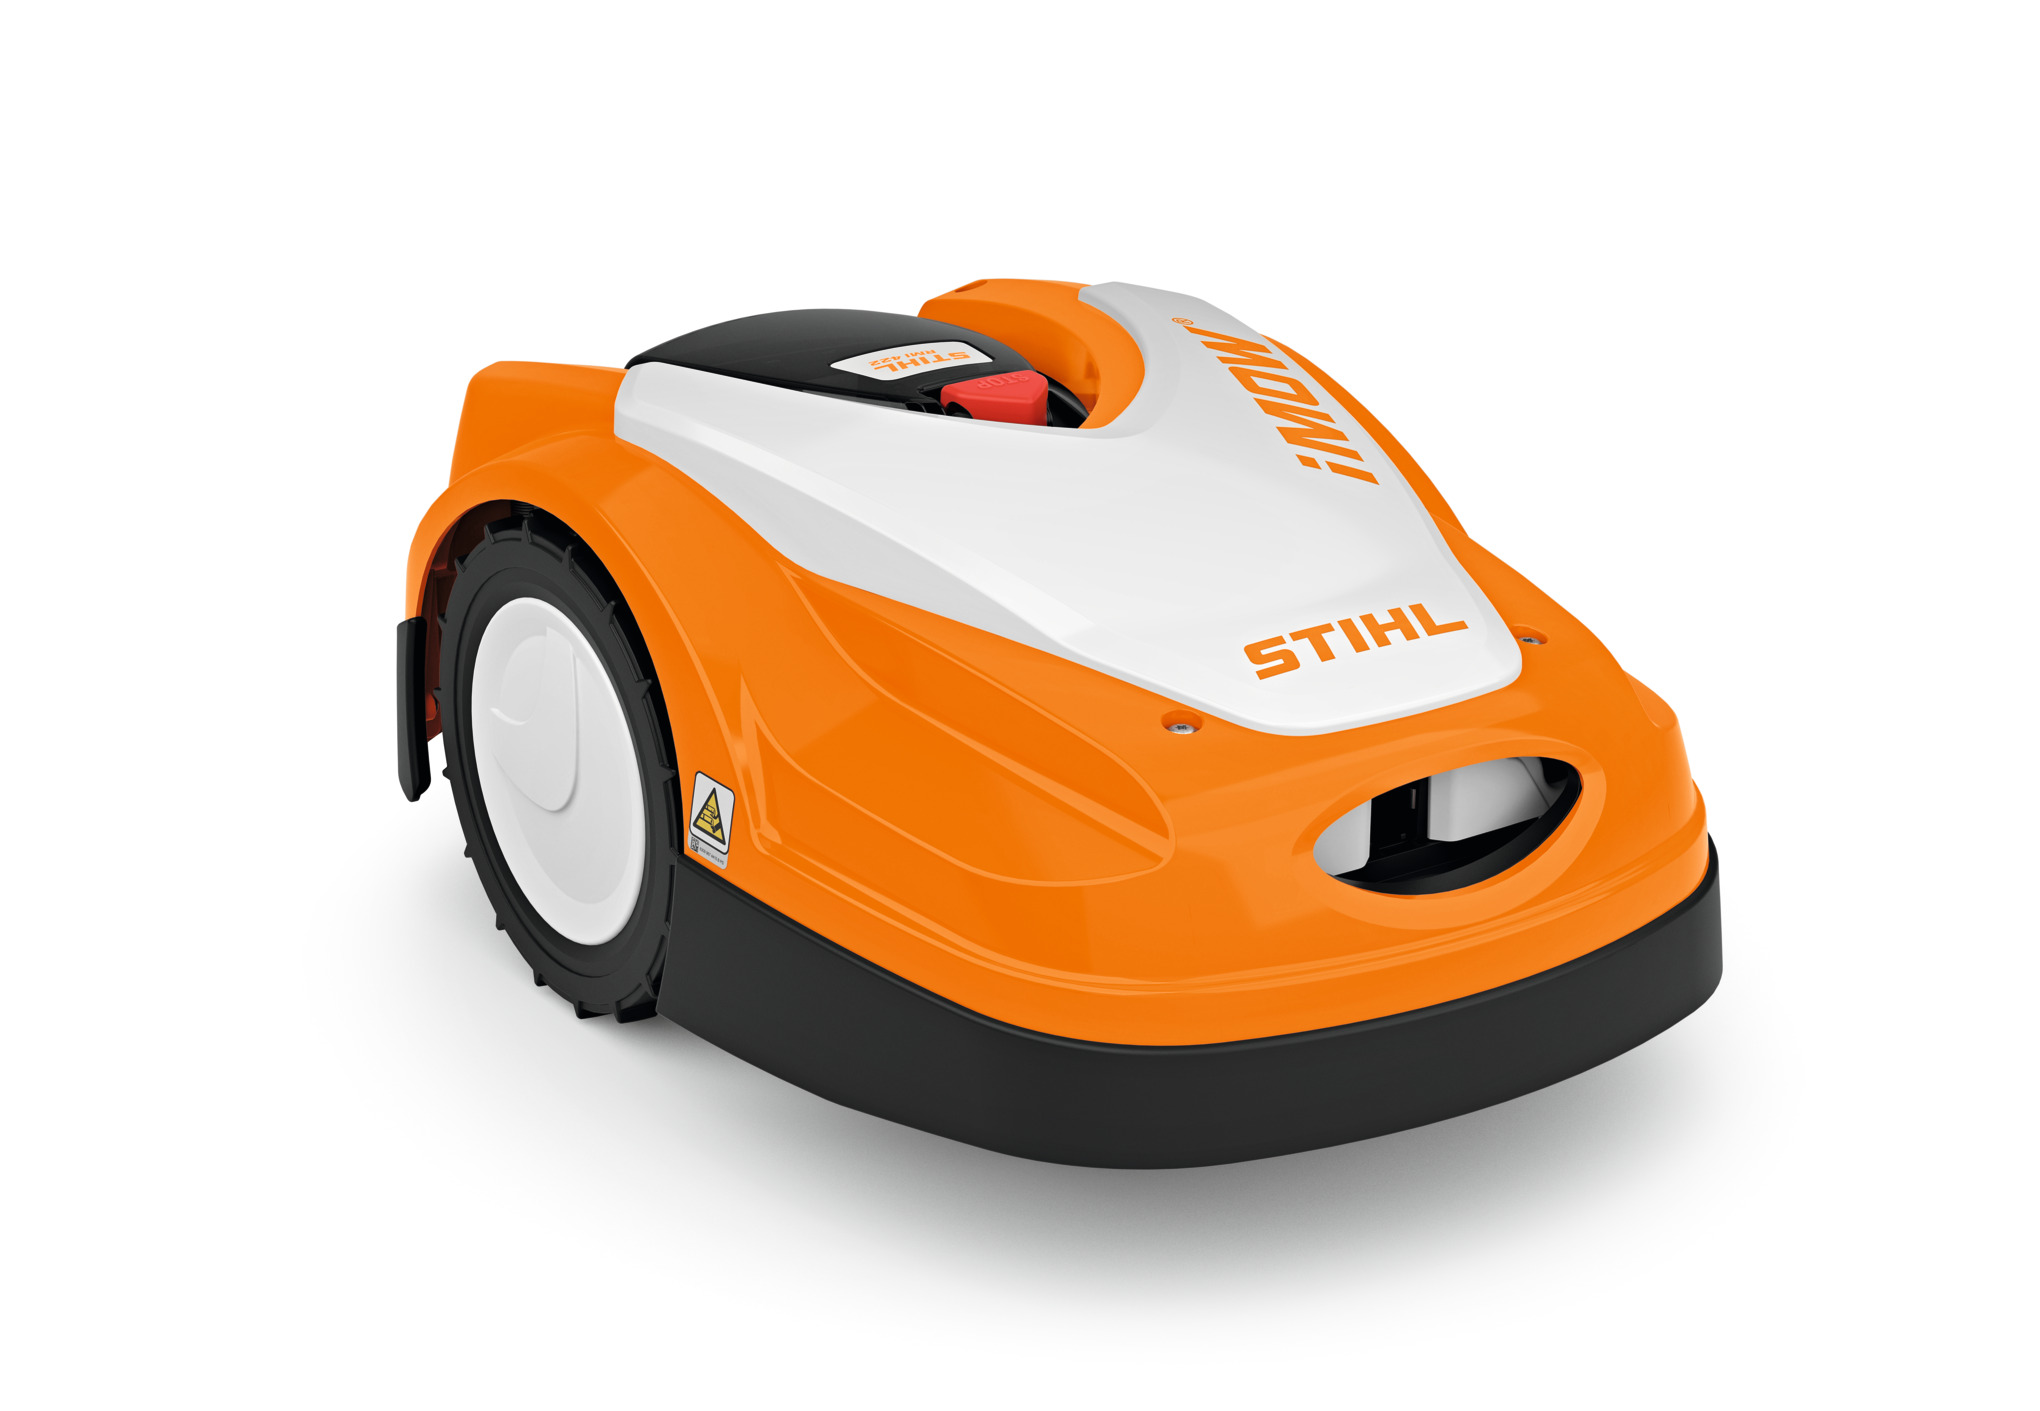
With iMOW® your lawn takes care of itself, but correct installation of your robotic mower is vital for the results you want – we tell you how it’s done.
31.08.2023

Benefits of an ¡MOW® robotic lawn mower
A perfect lawn requires regular care. Make it easy with a mower that will make lawn care effortless – not only automatically mowing, but also mulching your lawn with the clippings and providing the soil with valuable nutrients as it does so. Once you’ve set up your robotic mower, with just a little time and no effort your grass will look better than ever. Installation involves laying the perimeter wire and setting up the mowing times; the iMOW® will do the rest.
Robotic mower installation: DIY or enlist some help?
Our experienced dealers can take care of the whole installation and setup process on request. Doing it yourself is not too challenging, but for large or complex gardens we recommend the expertise of our STIHL dealer network.

Preparing for installation
Before installation of your iMOW, we recommend cutting the grass one last time to a length of 4 to 5 cm. If you're installing in the summer and the ground is hard, it also helps to water the lawn perimeter to make hammering in the fixing nails and pegs for the docking station easier.
You will need the following materials for your robotic lawn mower installation:
- Docking station
- Operating instructions and Quick Guide
- Hammer
- Combination pliers
- Wire stripper
- Pencil and paper
- Installation kit
Choose a size S or a size L installation kit depending on the size of your lawn.

Step 1: mapping the mowing area
We recommend you start by sketching the layout of your lawn and marking fixed objects in the mowing area, such as a swing set. Include the desired installation position for the docking station on your sketch and draw the perimeter wire path around the mowing area. When drawing the perimeter wire, take care to ensure that it does not intersect anywhere.

Step 2: installation and basic settings
The STIHL iMOW® robotic mower’s installation assistant will walk you through all the necessary steps for initial installation. It is easy to use and very intuitive: first you’ll need to set the language, date and time – make sure the date is right, otherwise you won’t be able to programme the mower to work when you want it to.

Step 3: docking station installation
When it’s not taking care of the lawn, your iMOW® robotic mower will spend its time in the docking station, where the mower battery automatically charges. There are several things to consider when deciding on the installation site for your docking station.
| Location | Inside or outside | Power connection | No sources of interference |
|---|---|---|---|
| Direct sunlight can cause temperature increases in the mower and lead to increased battery charging times. We recommend installation in a shaded, sheltered area; if no shaded location is available, you can mount a protective canopy above the docking station. This accessory will ensure your robotic mower is better protected from the weather. The docking station should be positioned in such a way that it can clearly be seen, so that it does not become a trip hazard. | The docking station can be installed inside or outside the mowing area. Both installation options are described in the operating instructions. | The power connection must be close enough to the docking station to allow the required power cables to be connected to both the docking station and the power connection – the power cable must not be modified in any way. We recommend using a socket with surge protection. | Metal, iron oxide and magnetic or electrically conductive materials, as well as old perimeter wire installations may disrupt the operation of the mower and docking station. Ensure that any possible sources of disruption are removed. |

Step 4: perimeter wire installation
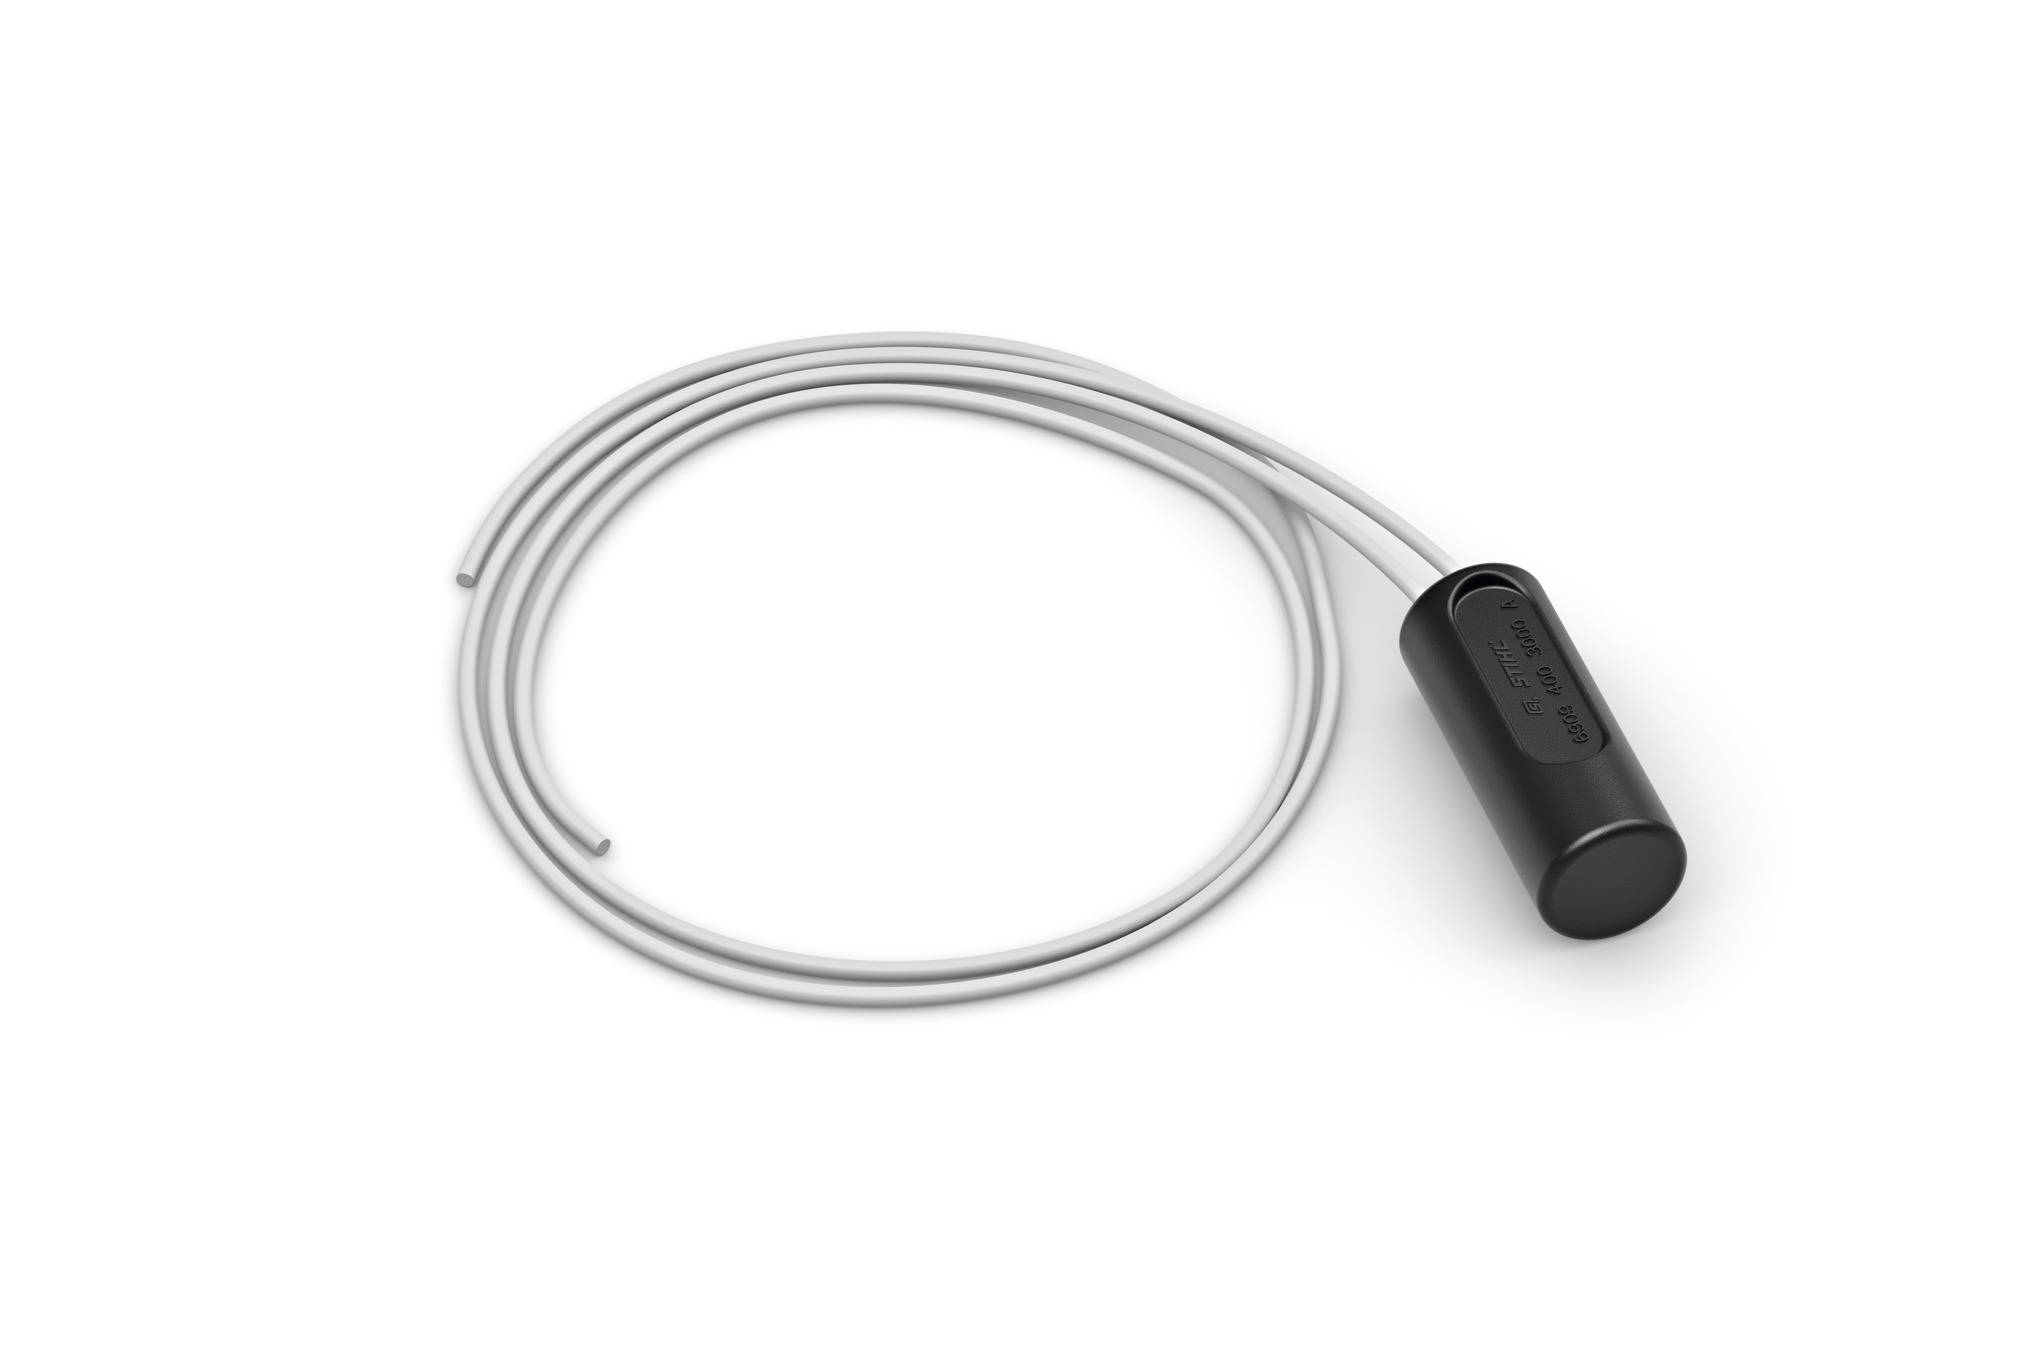
The perimeter wire tells the robotic mower where to mow. The docking station sends a signal through the wire, which is then picked up by the iMOW®.
Check out our video instructions for details on correct installation of the perimeter wire around the mowing area and how to connect the docking station.
The key points of perimeter wire installation
Hammer the fixing nails completely into the ground, setting them in 28 cm from the boundary of the mowing area (or 33 cm for the iMOW® RMI 632). You should space the nails around one metre apart.
Mark out restricted areas around all objects your mower should avoid, e.g. flower beds and trees within the mowing area, or obstacles that are less than 8 cm tall (less than 10 cm tall for the iMOW® RMI 6). Installation of restricted areas is subject to a few considerations.

Tips and safety measures
Here’s a little extra advice to go with our installation guide.
Setting the cutting height
For the first few weeks, set the cutting height to 5 cm. This helps prevent damage to the perimeter wire before it has settled into the soil after installation, and also ensures safe operation of your robotic mower. You can select a lower cutting height later if you wish. We recommend keeping the grass longer during prolonged dry periods to ensure that the soil does not dry out so quickly and your grass does not scorch.
Safety instructions
The STIHL iMOW® robotic mower adheres to all current safety standards. However, it is important to remember the following: avoid being on the lawn during the active mowing times of the iMOW® robot mower and you should also ensure that no children or animals are on the lawn during these times.
Please ensure that your robotic mower only operates during the day so that nocturnal animals are not endangered; your iMOW® is able to complete all mowing work during the day.
Dealer installation of your robot mower
If you prefer to have a STIHL dealer take care of installation, that can be arranged. Our local dealers will be happy to assist so you can relax as the gardening season kicks off!
Summary: robot mower installation
- Prepare the mowing area by using a lawn mower to cut the grass to a length of 4 to 5 cm.
- The iMOW® installation assistant will guide you through the installation, as well as our comprehensive install video guide..
- The ideal location for the docking station is a shaded, level spot with a suitable power connection nearby.
- You can also ask a trusted STIHL dealer to handle your robot mower installation.


