How to replace trimmer line
Your grass trimmer will eventually need new mowing line installed to stay effective. Replace it quickly and easily with the help of our guide.
02.10.2024

Understanding grass trimmer line and mowing heads
When the time comes to replace the line in your grass trimmer, you may face the question of deciding which type is best for your STIHL tool. The answer depends primarily on what tasks your trimmer needs to tackle. As a rule of thumb, the longer and denser the grass you are clearing, the thicker the trimmer line should be. This should also be taken into account when choosing the trimmer itself, because the thicker the line you use, the more power you need to achieve a clean cut. So tougher jobs require more power and a thicker line. To understand which trimmer line is appropriate for your needs, you should first consider the different mowing heads available.
STIHL grass trimmer head types
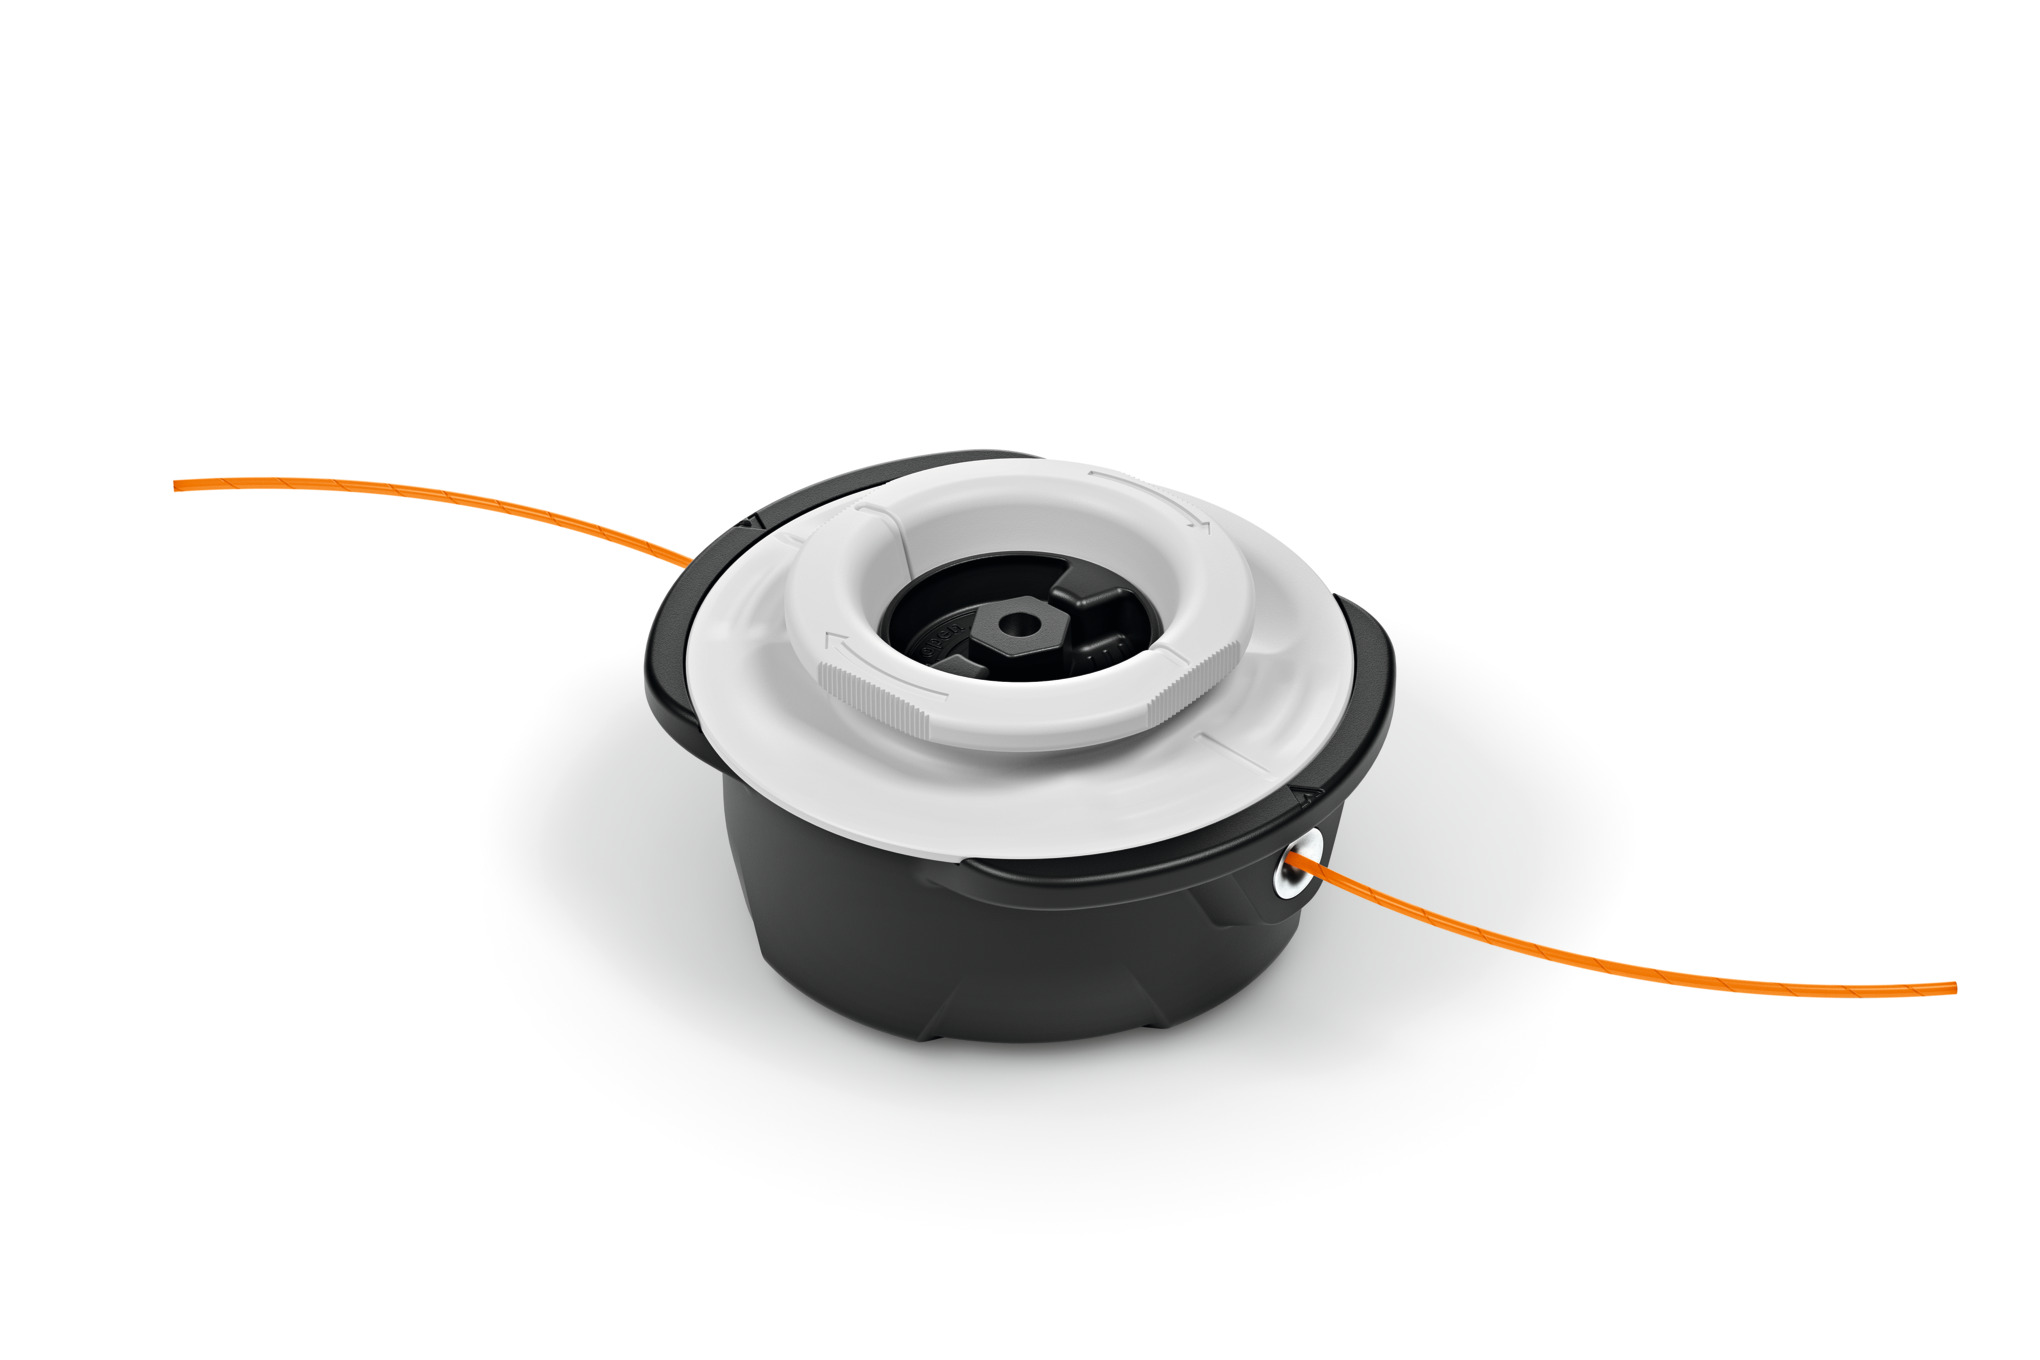
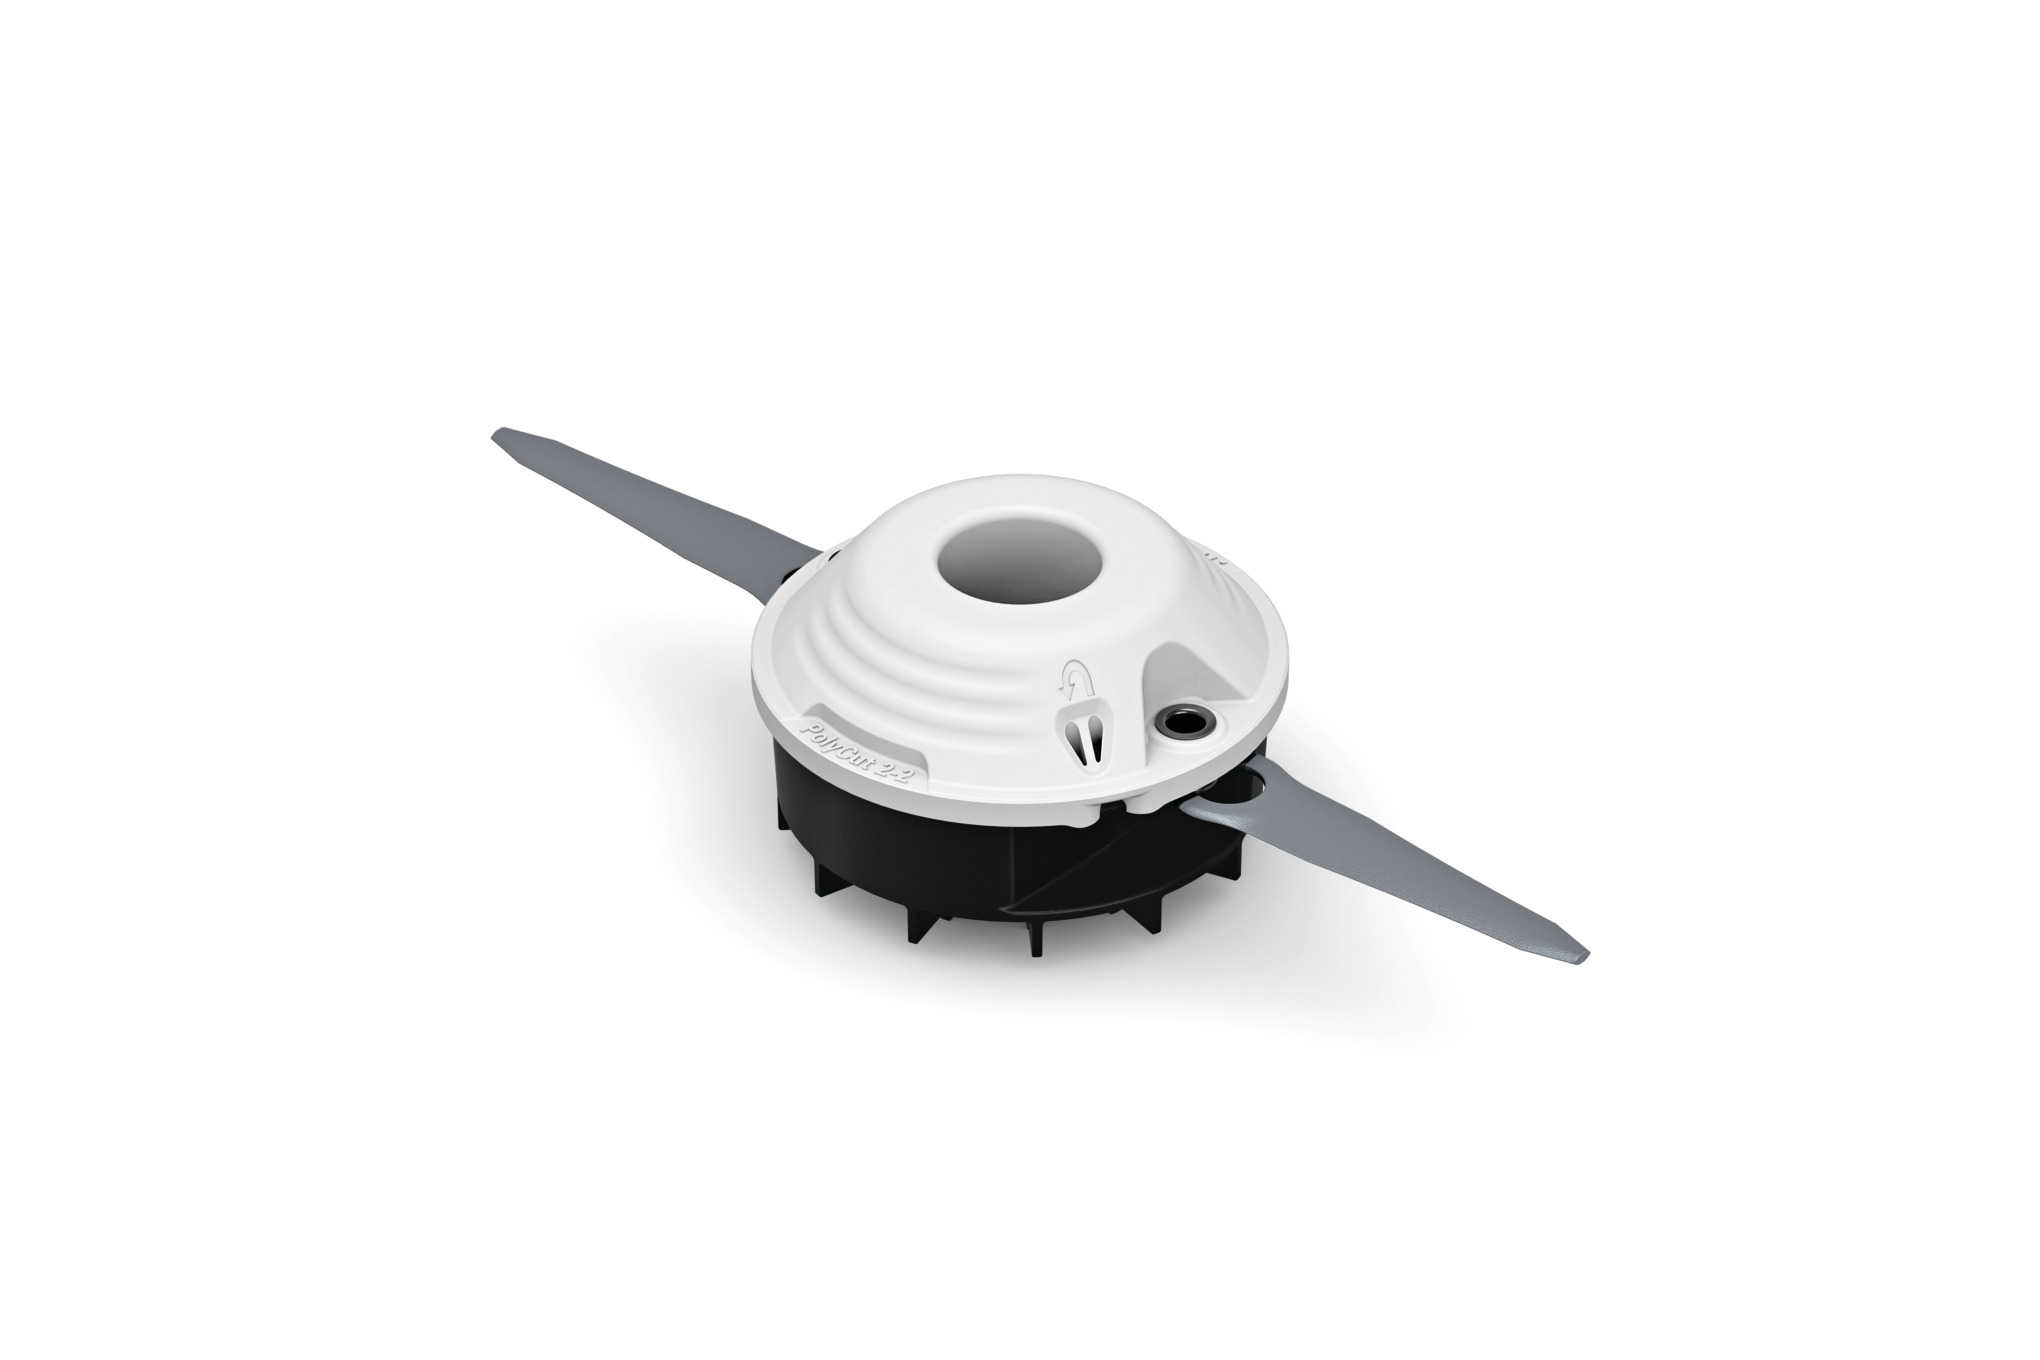
STIHL offers a wide range of grass trimmers for domestic and professional use. These differ in various aspects such as power, drive type and handle type, as well as the mowing head supplied as standard. However, while the other characteristics mentioned are fixed, you can remove the heads installed on STIHL grass trimmers and replace them with alternative cutting tools. This makes them more versatile as you can tailor the tool to your task.
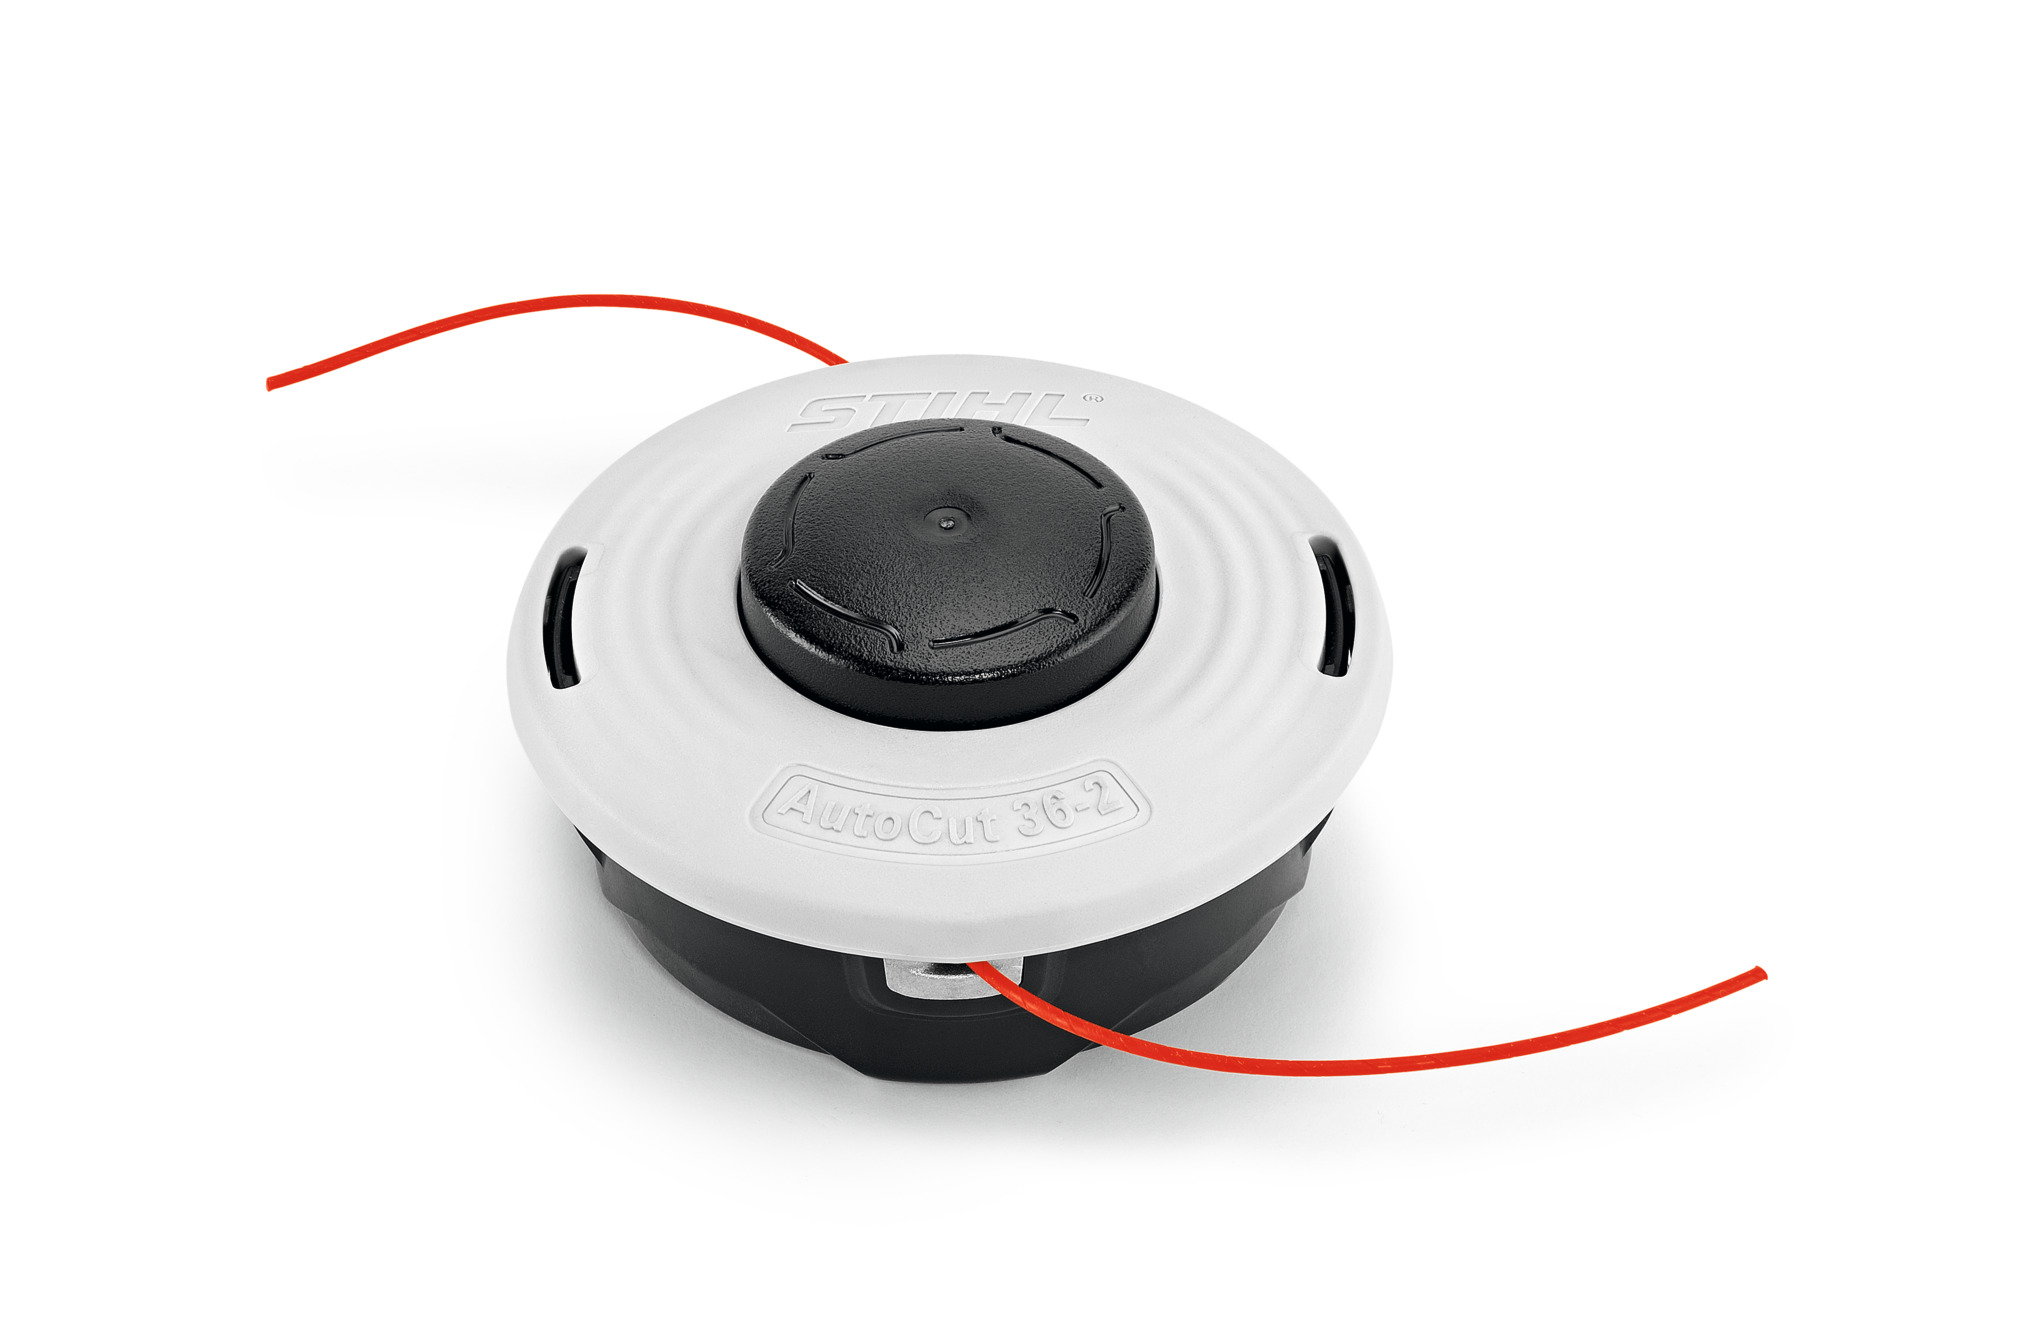
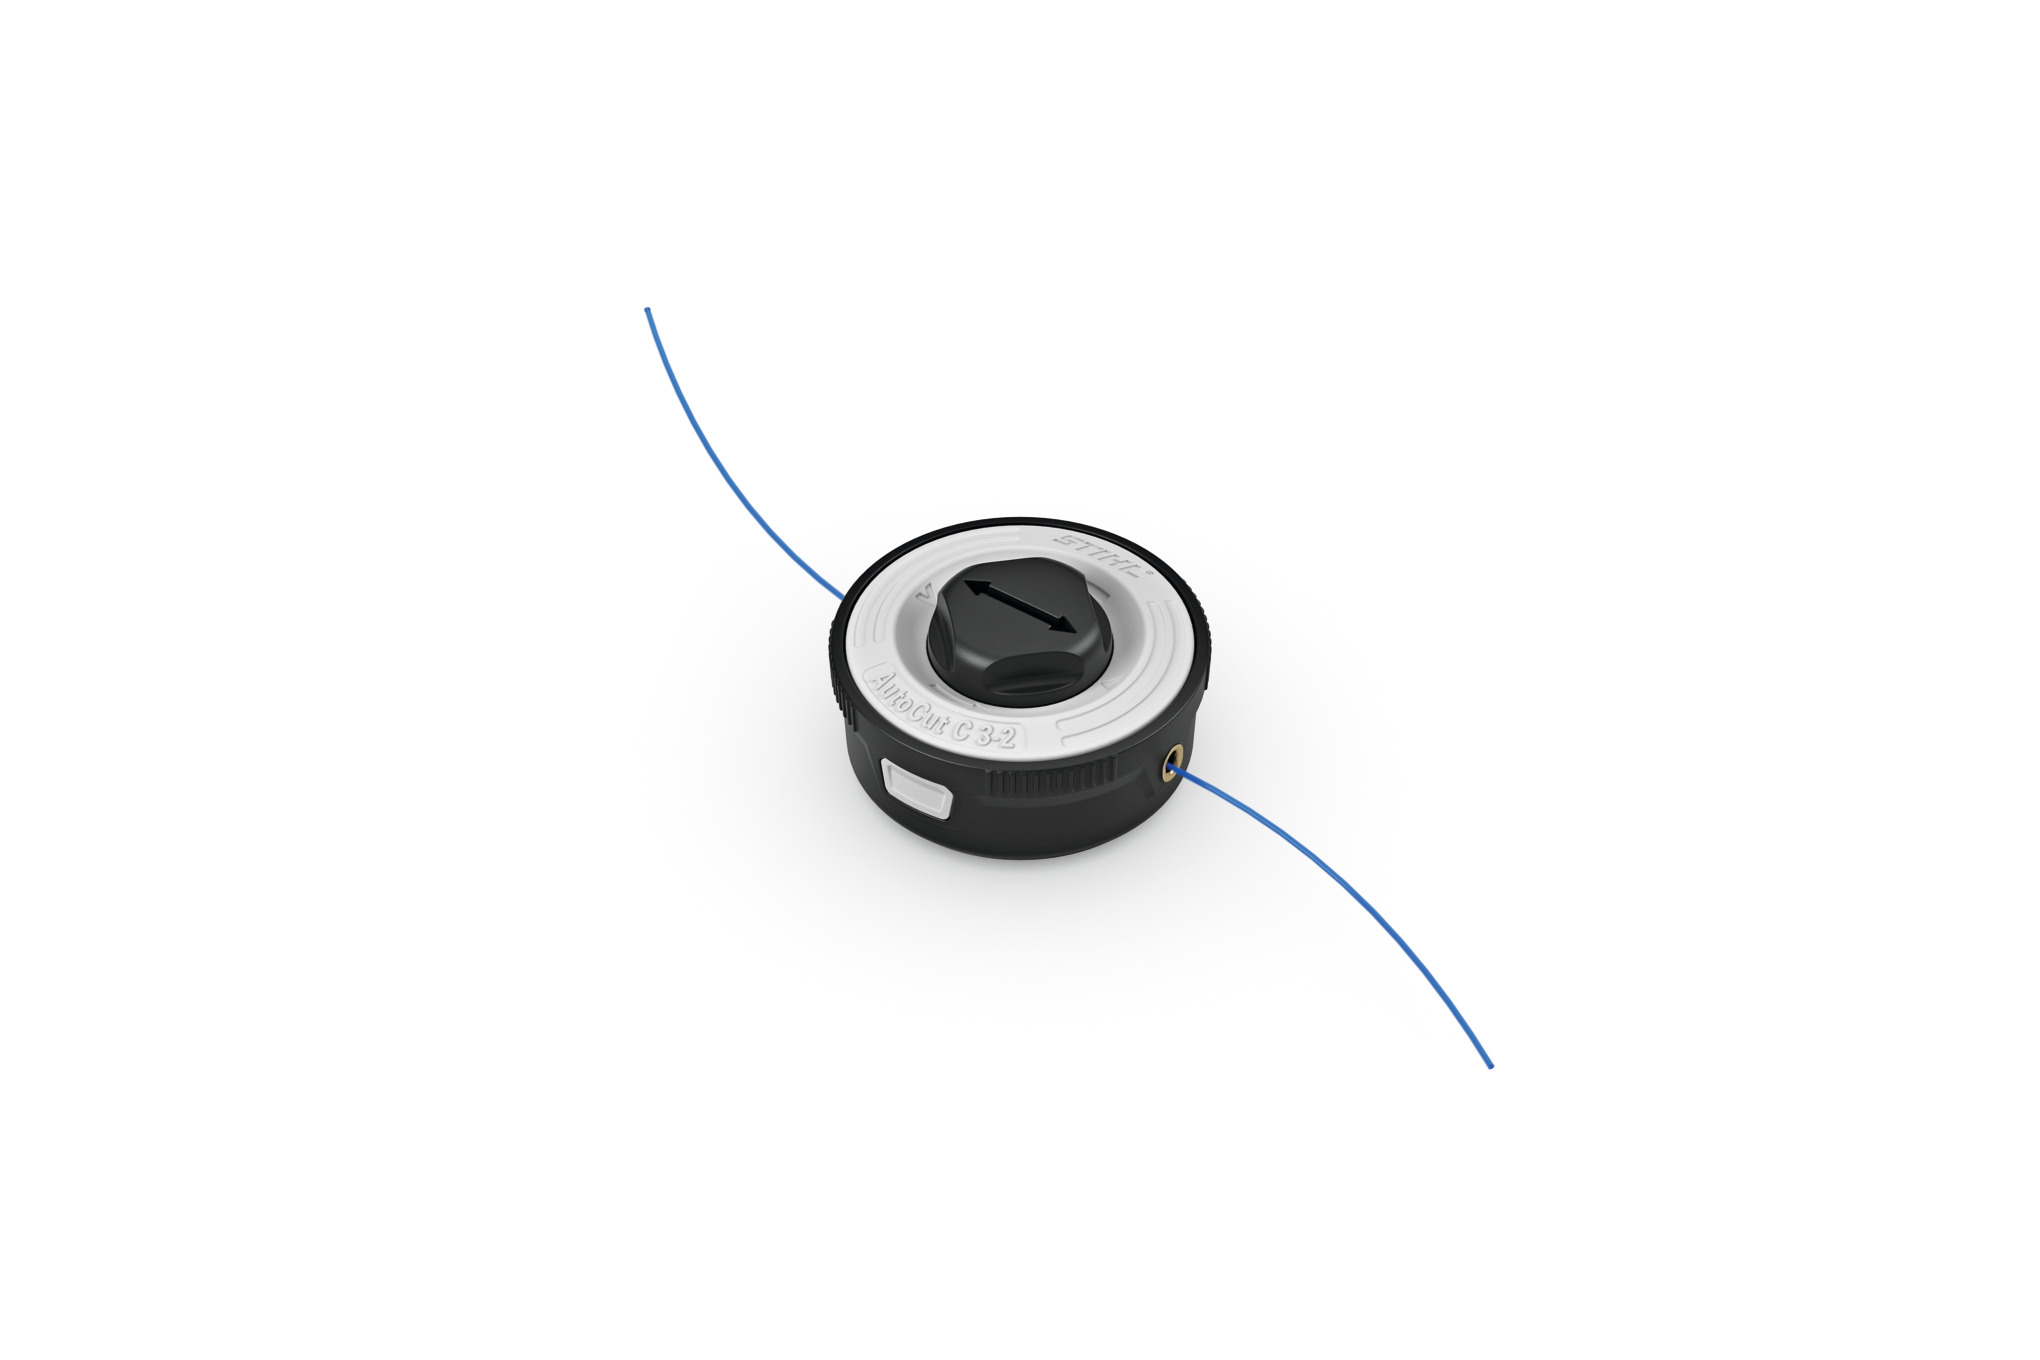
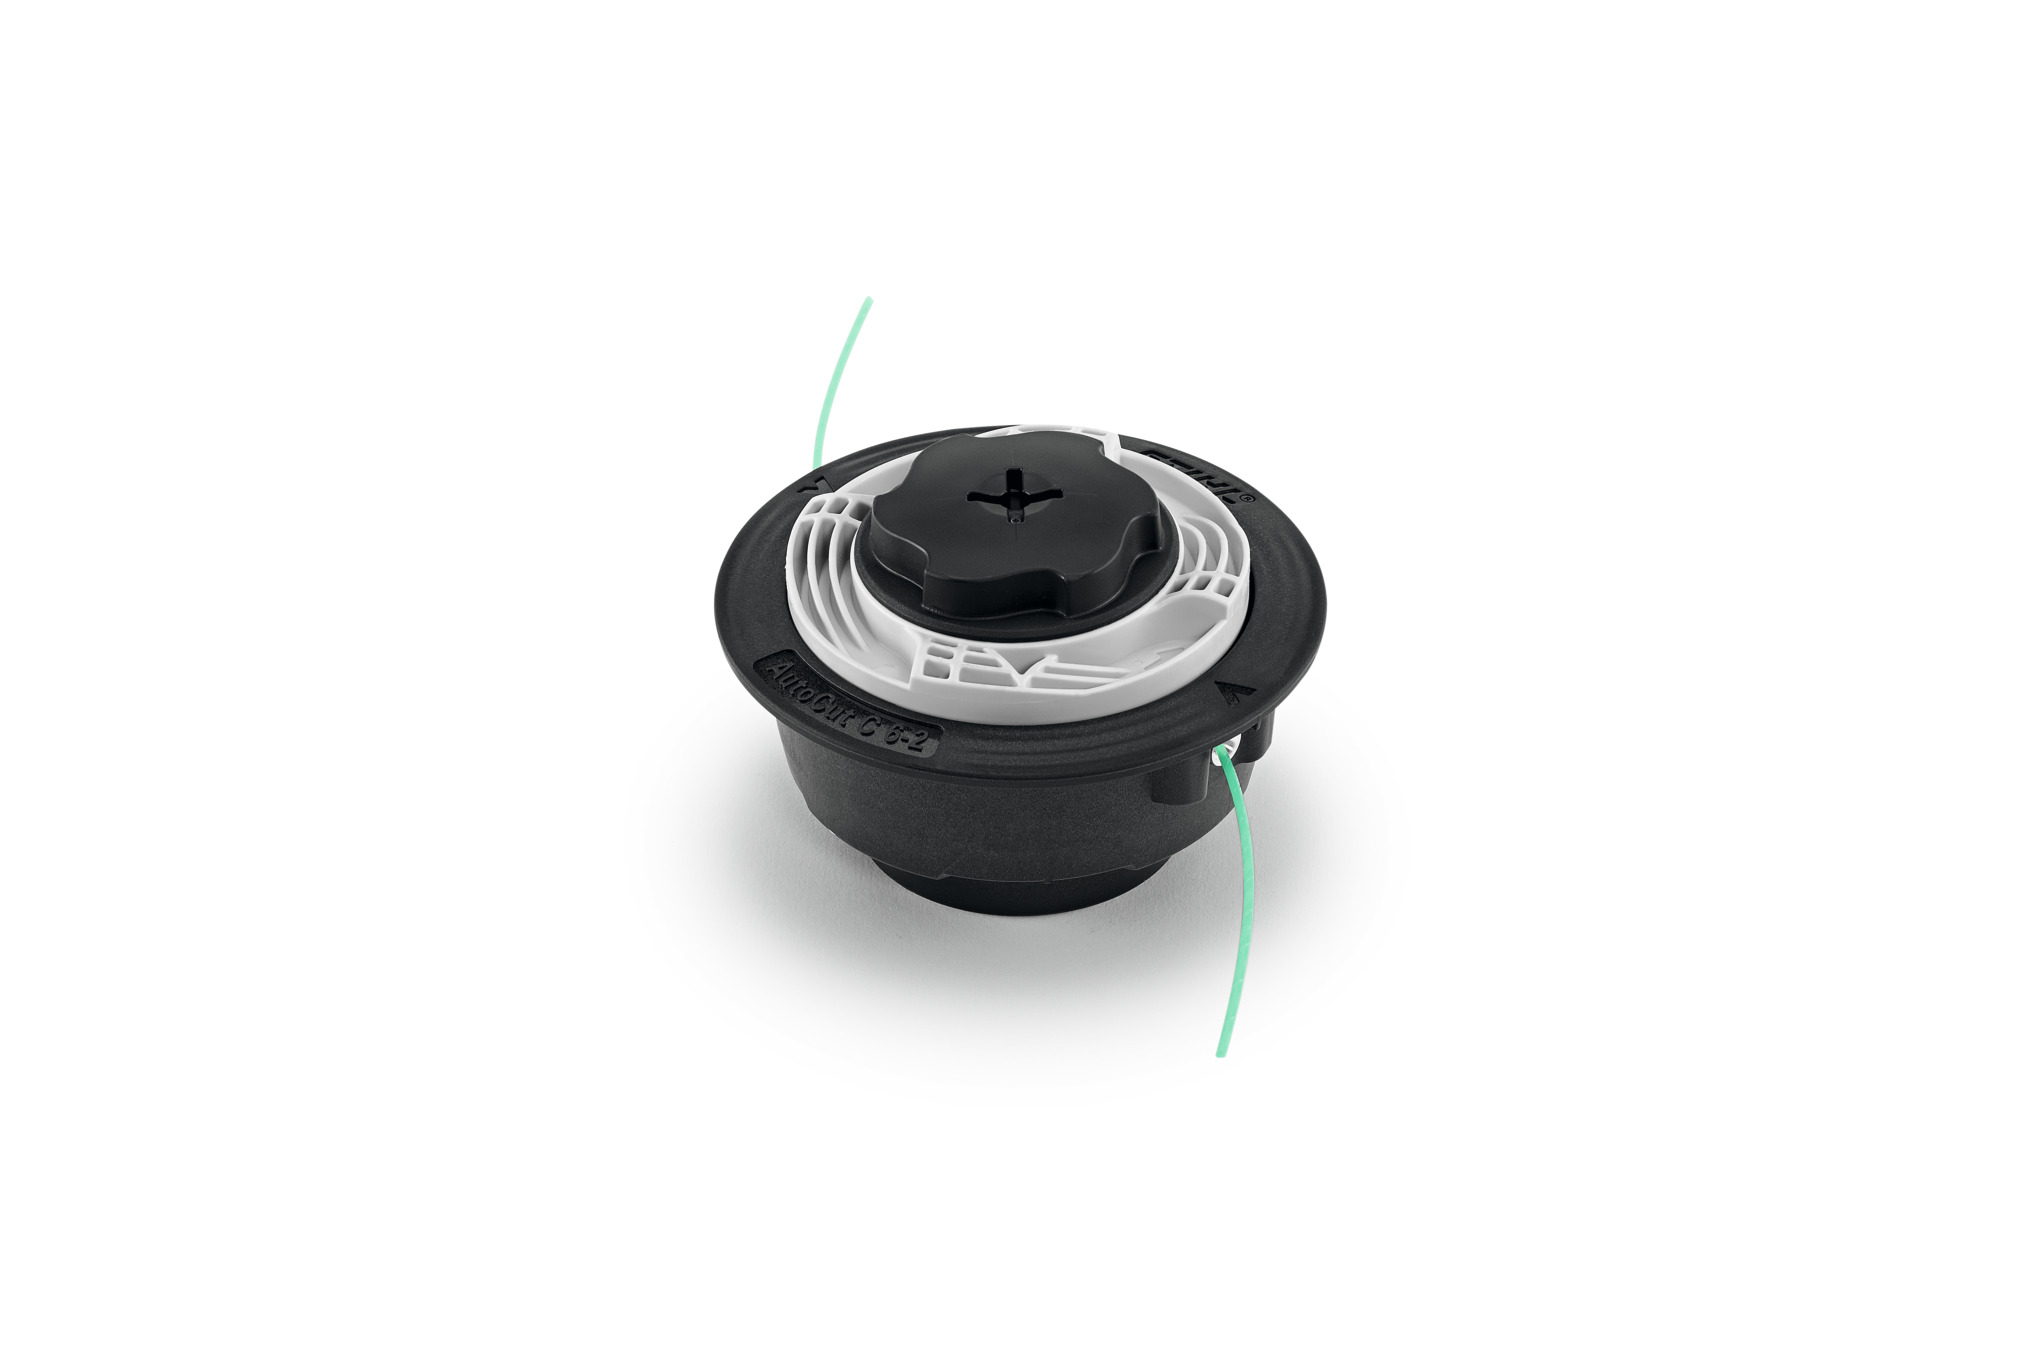
STIHL offers three types of grass cutting heads which use trimmer line, and the main difference is in how you extend and replace the trimmer wire when the need arises.
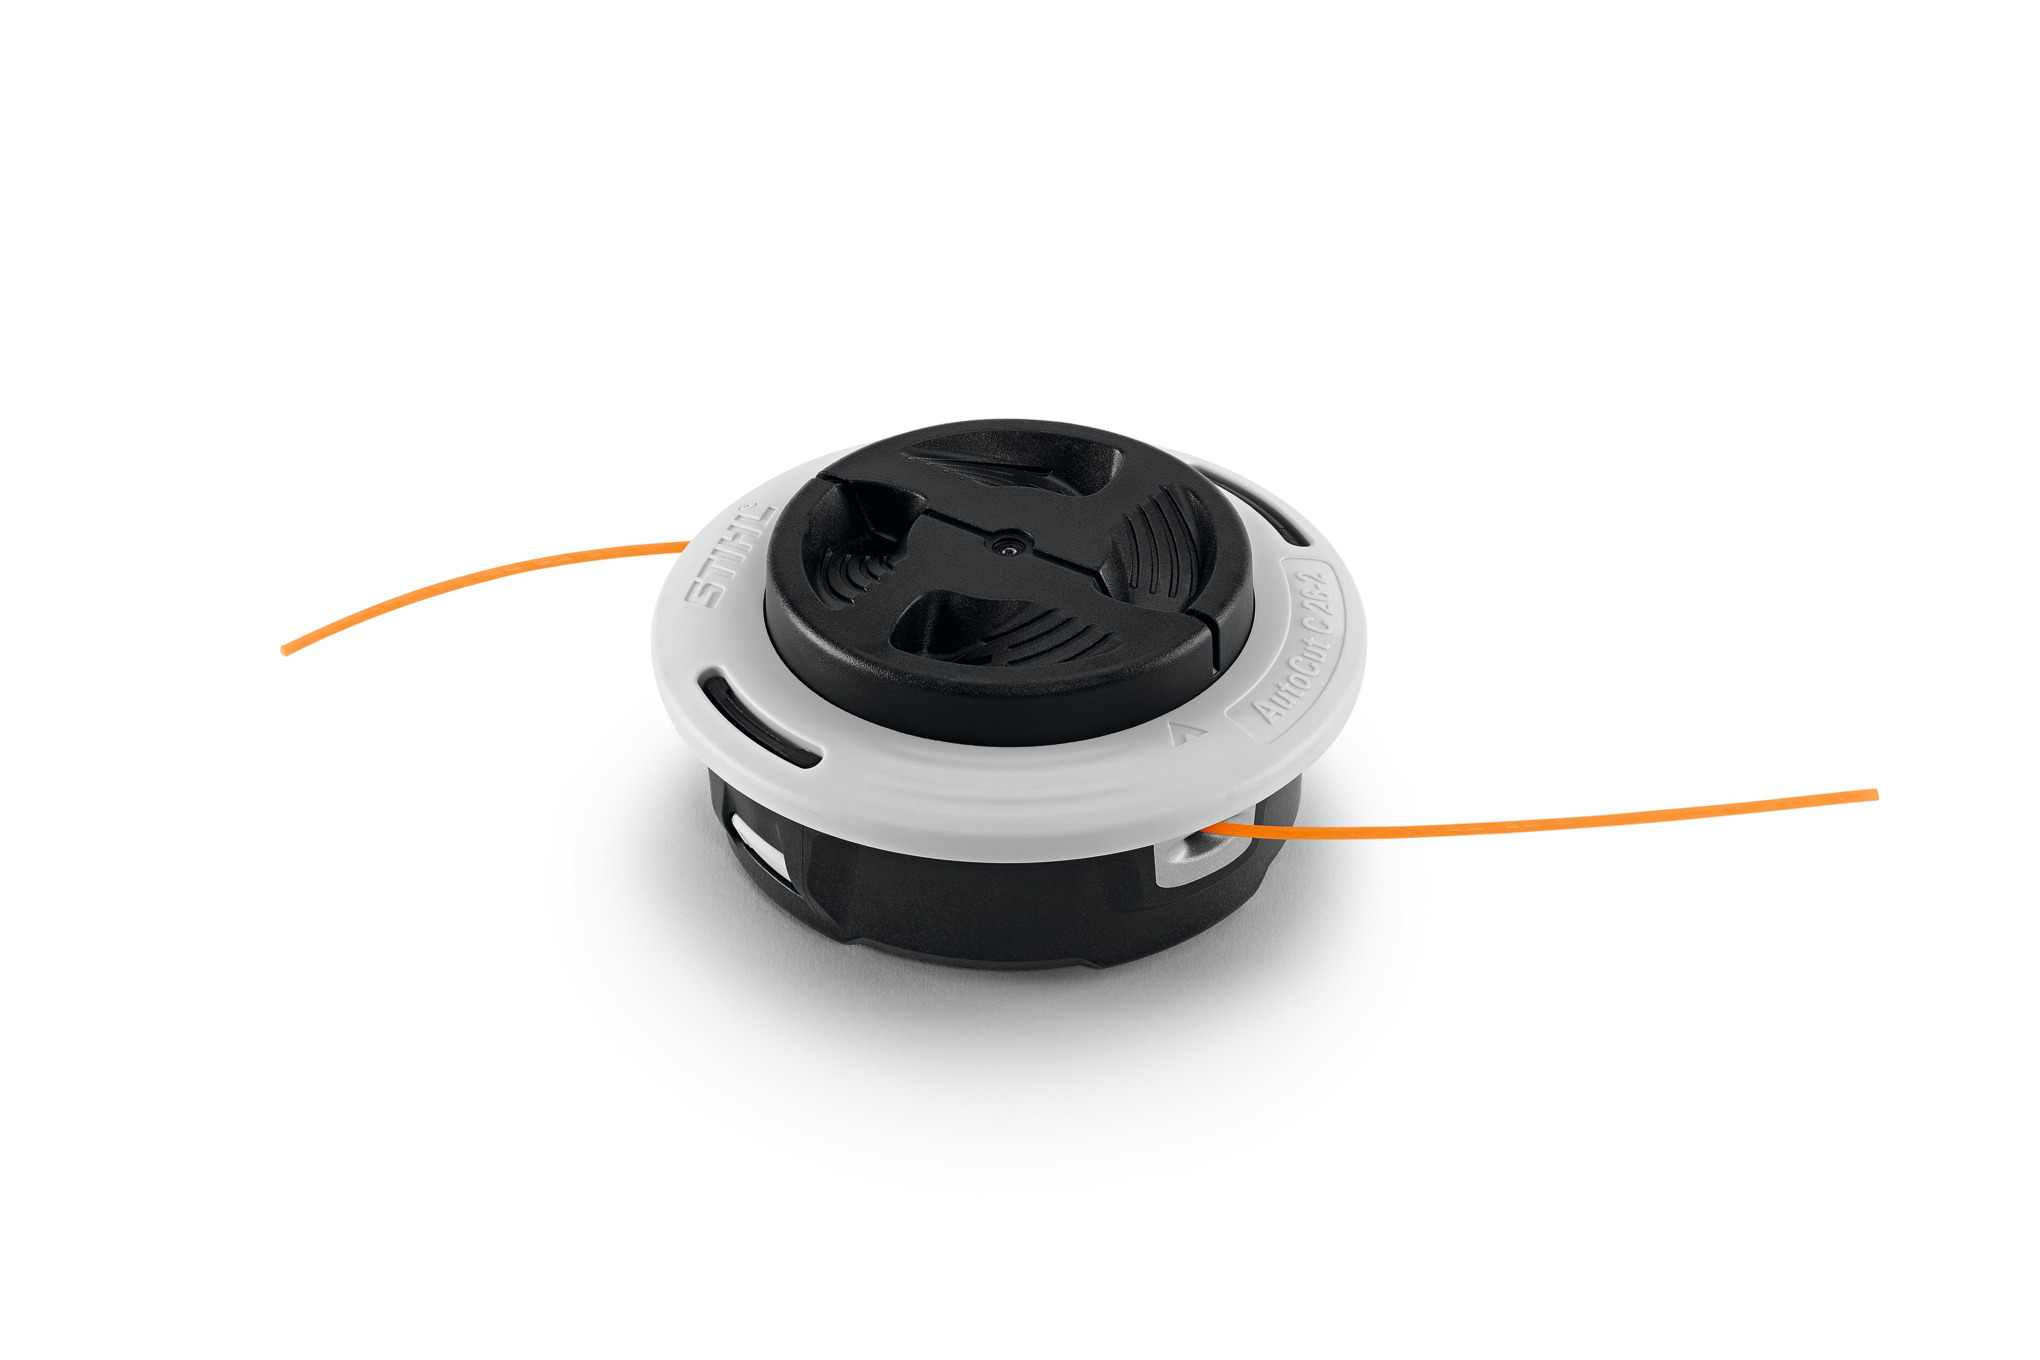
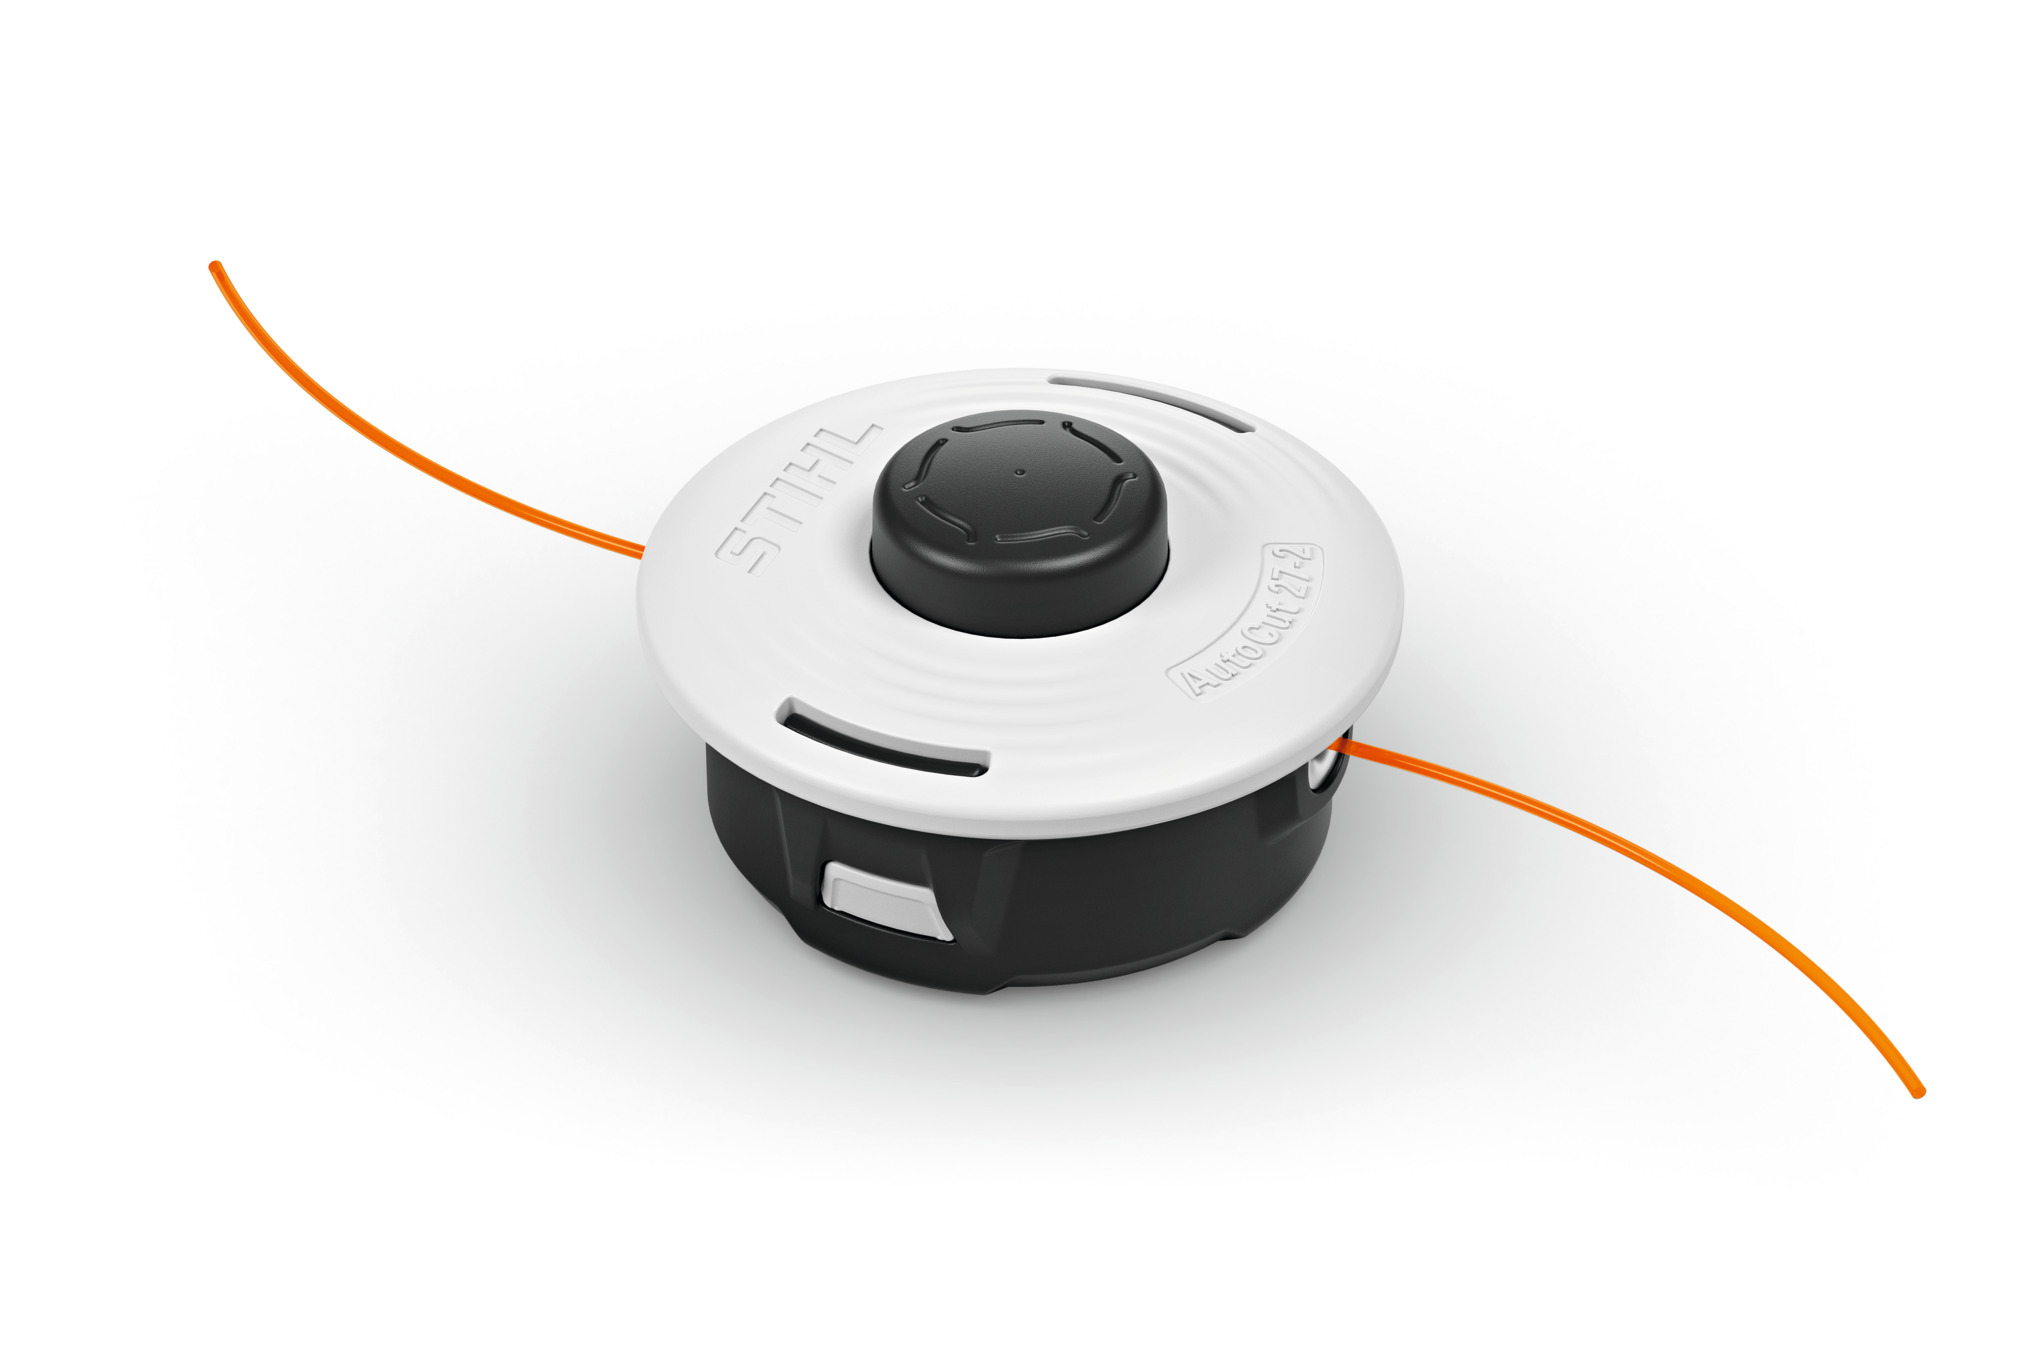
AutoCut mowing heads: It is really easy to feed the line as you work with an AutoCut head. Extending the twin cutting lines to the right length is simply a matter of tapping the mowing head on the ground while the motor is running. This action triggers a release mechanism which spools out some line; the length is then automatically adjusted by means of centrifugal force as the trimmer rotates.
In summary, TrimCut and SuperCut heads are particularly suitable for domestic users, while AutoCut is appropriate for use in private and professional settings, making it the perfect all-rounder. As well as being suited to different tasks, each type of head also requires a different procedure when it’s time to refill or entirely replace the trimmer line. Your trimmer head comes loaded with a spool of line which can be released a little at a time for use through several trimming tasks – but it won’t last forever. To replace it you can buy a new roll of line and refill your existing grass cutting head.
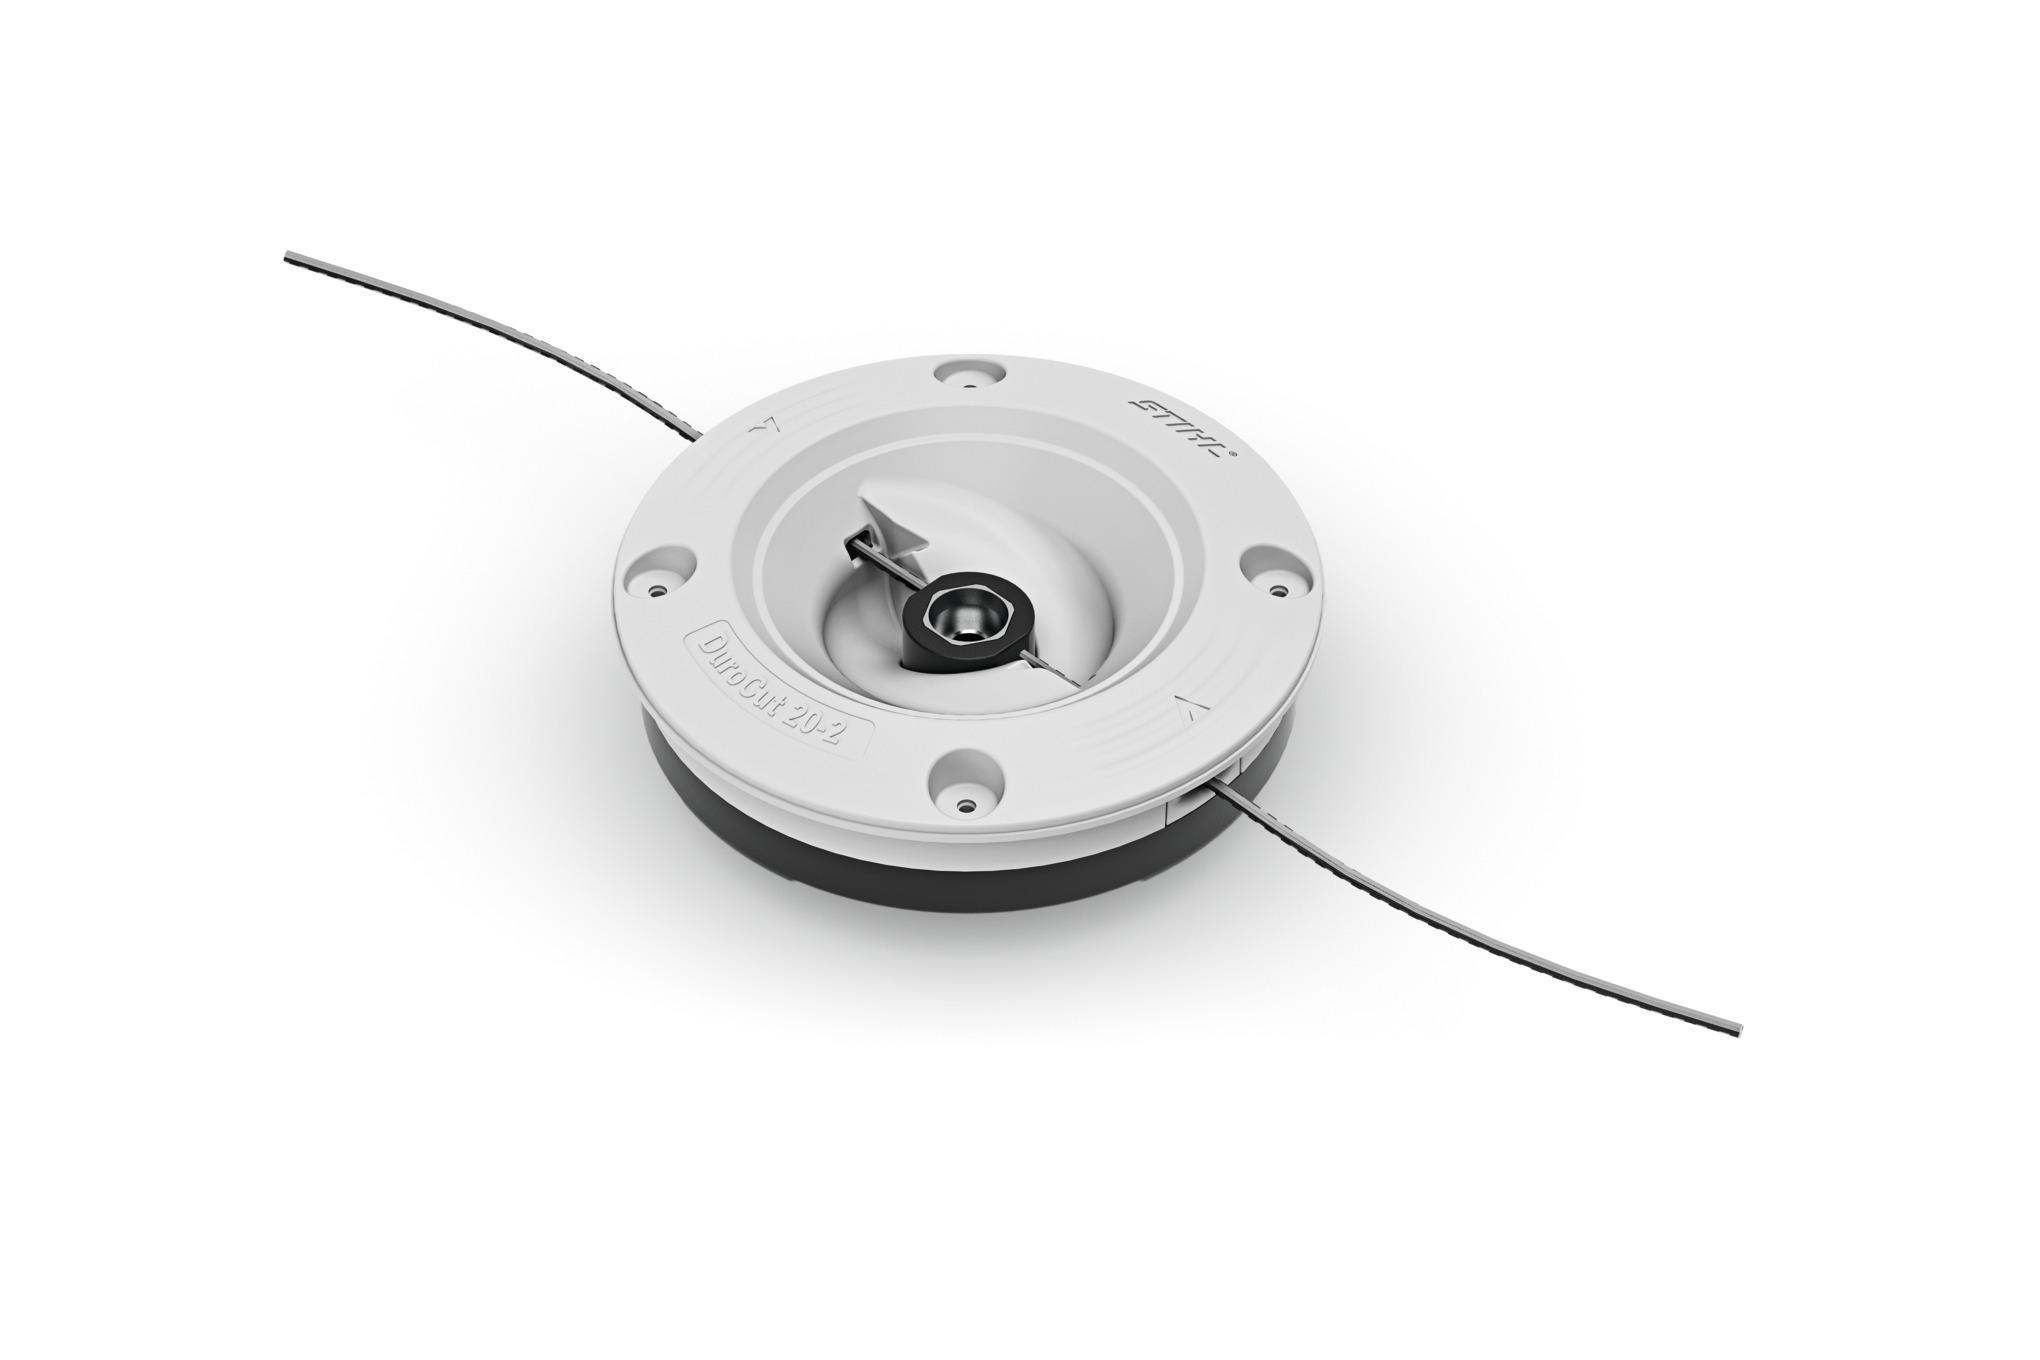
STIHL tip: Prefer to use pre-lengthened sections of line rather than winding it on from a roll? STIHL DuroCut mowing heads are filled with pre-cut pieces of DuroCut trimmer line, supplied at the perfect size. DuroCut has a flexible core with a tough outer layer and blade teeth, enabling you to work with precision in taller, denser and slightly woody vegetation.
Not all heads are compatible with all tools. If you are not sure which heads are suitable for your grass trimmer, please ask your local dealer for advice.
How to replace trimmer line in an empty trimmer head
Generally, there are three different ways to replace trimmer line in a STIHL grass cutting head, depending on the model type.
Standard model heads: For these, first remove the head from the trimmer and open it up. Now you can access the empty spool you can wind trimmer line onto it. The arrows will help you to wind the line on in the right direction. If you find it difficult to refill and replace the trimmer line, your local STIHL dealer will be happy to help.
Comfort model heads: Grass trimmer heads with comfort features are designated by the letter “C” in the model name. It is easy to replace trimmer line in these because you can wind line onto the spool from the outside. Simply feed the desired length of trimmer line into the mowing head so it goes in one side and comes out the other; then, twist the bottom part of the head to wrap the line around the spool inside – there’s no need to open anything up. One thing to note when you replace the line in these is that the two line ends which protrude from the head should be the same length before you start winding.
There is a third way to replace STIHL grass trimmer line which is suitable for both Standard and Comfort models: opening up the mowing head and inserting a pre-wound spool.
How to replace trimmer line: video guides
Choosing the right trimmer line for the task
STIHL has the right trimmer line for any challenge. Our “round, quiet” trimmer lines are installed as standard in the mowing heads of STIHL grass trimmers. These lines offer optimal results at lower noise levels in most working environments. If you need to replace the line in your tool, it is worth taking a look at the table below to find out if a different trimmer line would be more suitable for the particular challenges of your work. Our trimmer lines are offered with different profile shapes as well as different thicknesses – STIHL trimmer line is also colour-coded for better recognisability and orientation. For example, red trimmer lines always have a diameter of 2.7 millimetres.
Storage and preparation

Before you replace the line in your trimmer, we recommend keeping the trimmer line in water for at least 24 hours before use. This is because, over time, nylon line loses moisture and therefore elasticity. Hydrating the line means more flexibility so the line will not wear as quickly. There’s no need to remove the line from the reel: just place the reel directly into water with the line still wrapped around it. This process will also mean you do not need to worry about how to store your line, as you can simply leave it in your grass trimmer until the next time you use it.
Summary: how to replace trimmer line
- STIHL offers a variety of mowing heads, trimmer lines and line reels to suit various applications.
- It’s easy to replace a trimmer line: either open the mowing head or, for trimmers with the Comfort feature, simply insert the trimmer line and rotate to wind it on.
- You can also insert a pre-wound reel.
- All trimmer line should be soaked in water for 24 hours before winding on so that it will retain the necessary moisture and elasticity.

